
TL;DR
Hiring a cable railing contractor involves more than picking a style. A professional installation moves through a clear sequence: a design consultation to define the project, precise measurement and design, permitting and code compliance, fabrication of the components, careful installation with proper cable tensioning, and a final inspection and walk-through. Because cable railing depends on precise tensioning and code-compliant spacing, the work is often best handled by a licensed specialist rather than a general contractor. Be sure to ask about licensing, specialization, in-house fabrication, and permitting. It is the fastest way to tell who is right for your job. Cregger Construction, a specialist cable railing contractor based in New Windsor, MD (MHIC #69185), handles the full process in-house across Maryland and the Mid-Atlantic.
***
Congratulations. You’ve decided on cable railings. Maybe it’s for a staircase, a deck, or a balcony where you’d rather not trade the view for a row of bulky balusters. Now comes the part that’s harder to picture: what happens once you hire someone to install them?
It’s a fair thing to want the process mapped out before you commit. Cable railing is a precise, code-governed system, not a weekend bolt-on, and getting it right involves a few more steps than most homeowners expect.
Here’s a clear walk-through of what a professional installation involves — from the first conversation to the final inspection — so you know what you’re signing up for before you make the call.
The Contractor You Choose Matters
Cable railings look simple. That’s the whole point. Thin horizontal cables, clean lines, unobstructed sightlines. But that minimalist appearance depends on getting the engineering right underneath it: posts anchored to carry real load, cables tensioned to precise specifications, spacing that meets safety code.
Done poorly, cables sag, posts flex, and a railing that’s supposed to protect people doesn’t.
This is why cable railing installation is often handled by a specialist rather than a general contractor. The tensioning knowledge, hardware experience, and code familiarity involved are specific enough that many general contractors hire a dedicated cable railing installer rather than attempt the work themselves.
When you’re evaluating who to hire, that specialization is worth looking for, along with proper licensing and insurance.
Step 1: The Design Consultation
Every good installation begins with a conversation. A professional contractor will want to understand what you’re picturing, look at the space, and talk through the realities of your specific project before anything is designed or quoted.
Expect this stage to cover:
- Where the railings will go — stairs, deck, balcony, walkway — and whether they’re interior or exterior
- The look you’re after, including post style (such as 2×2 or wood-post systems), cable finish, and hardware color
- Material choices suited to the location, like marine-grade or stainless components for outdoor exposure
- How the railing needs to integrate with existing features, such as a staircase or an established deck
This is also the best stage to ask questions. A contractor who welcomes them — and gives straight answers about what will and won’t work in your space — is quietly showing you how the rest of the project will go.
Step 2: Measurement and Design
Once the vision is clear, precise measurement transforms it into a workable plan. This is where cable railing earns its reputation for exactness. Post placement, run lengths, cable spacing, and angles must be measured carefully. The tensioning that keeps the system rigid depends on accurate spans and solid anchor points.
From those measurements, your contractor develops a design tailored to your space. This accounts for how the cables will be tensioned, how the posts will be anchored, and how the whole system meets the safety requirements that govern railing height and cable spacing. Getting this right on paper prevents problems during installation and after.
Step 3: Permitting and Code Compliance
Depending on the project and where you live, your railing installation may require a permit. Railings are a safety feature, so they’re subject to building codes that specify things like minimum height and the maximum gap allowed between cables. These rules are designed to keep the barrier secure for children and pets.
A professional contractor handles this part for you, pulling permits where they’re required and making sure the design meets local code before any work begins. It’s yet another reason that the right contractor makes all the difference. Code compliance isn’t optional, and a railing that doesn’t pass muster is a liability rather than an upgrade. When you hire a licensed professional, navigating the requirements becomes their responsibility, not yours.
Step 4: Fabrication
With an approved design in hand, the components are fabricated. Depending on the contractor, this can mean custom metalwork. Posts, frames, and hardware are built to the specifications your project calls for, in the finishes you selected.
Fabrication is worth asking about when you’re choosing a contractor. A company that fabricates in-house has more control over quality, fit, and finish than one assembling off-the-shelf parts, and it’s often better positioned to tailor a system precisely to your home rather than fitting your home to a stock product.
Step 5: Installation
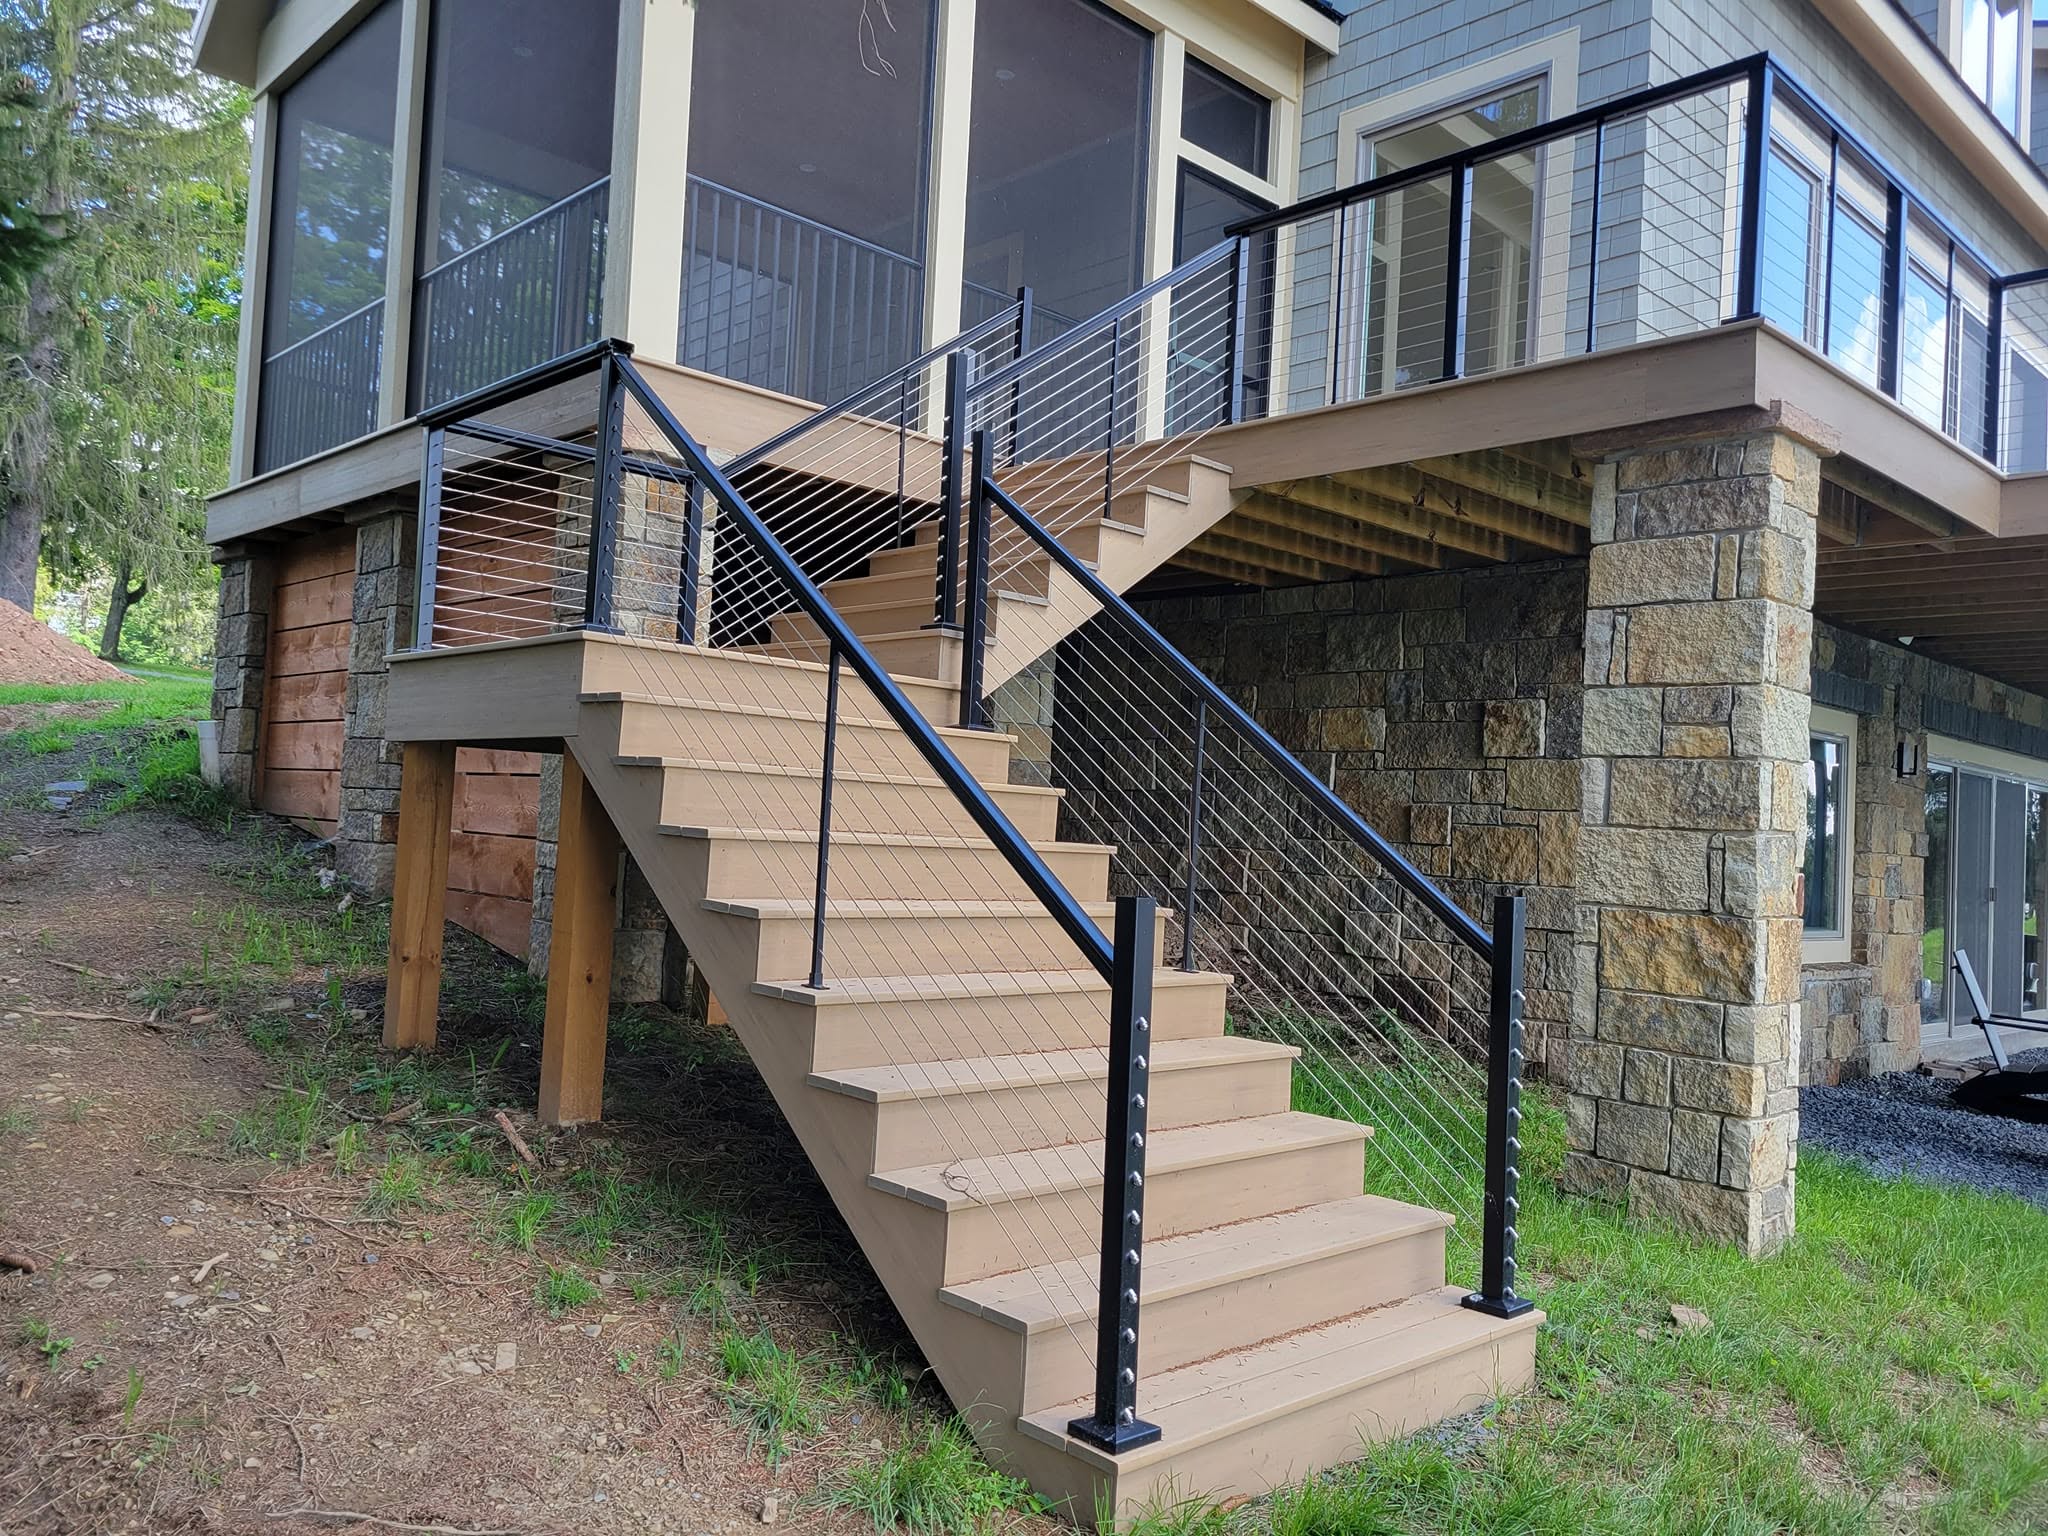
This is the stage most people picture when they imagine the project, and it’s where the preparation pays off. Cable railings are installed by anchoring the posts, then running stainless steel cables horizontally between them and securing them with specialized tensioning hardware. Each cable is tensioned to the right specification, so they stay taut and rigid without overstressing the posts.
A skilled crew works methodically here, because small details add up: evenly tensioned cables, cleanly aligned posts, and secure hardware are the difference between a railing that looks and feels solid and one that doesn’t. A professional installation is also respectful of your home, with attention to the surrounding surfaces and a clean worksite at the end.
Step 6: Inspection and Final Walk-Through
When the installation is complete, the work is checked by both the contractor and a local inspector (if the permit requires it) to verify the railing meets code. This final step confirms that cable tension, post stability, spacing, and height all meet established standards.
A good contractor will also walk the finished project with you, make sure you’re satisfied with the result, and explain the simple upkeep cable railings need (generally little more than occasional cleaning and a periodic check that the hardware remains secure). At that point, the railing is ready to do its job: looking effortless while quietly holding everything in place.
Questions Worth Asking Before You Hire
As you talk to contractors, a few questions quickly separate the specialists from the generalists:
- Are you licensed and insured? (In Maryland, look for an MHIC license number.)
- Do you specialize in cable railings, or is this occasional work for you?
- Do you fabricate your systems, or install off-the-shelf parts?
- Will you handle permits and code compliance?
- Can you show examples of past cable railing projects?
Clear, confident answers are a good sign. Hesitation on licensing, code, or tensioning is a big red flag and a good reason to keep looking.
Why Homeowners Trust Cregger Construction
Cregger Construction is a licensed, specialist cable railing contractor based in New Windsor, Maryland. We’re not a general contractor who subcontracts work. For more than 30 years, our team has handled every stage of the process in-house: design consultation, measurement, custom fabrication, permits where required, and complete installation, all built to each home’s specifications and local code.
Licensed and insured under MHIC #69185, we serve homeowners throughout Maryland, DC, Virginia, Delaware, and Pennsylvania. If you’re weighing a cable railing project,
request a quote to start with a design consultation and get a clear picture of what your installation will involve.
***
FAQs
Do I need a permit to install cable railings?
It depends on the project and your local jurisdiction. Because railings are a safety feature governed by building codes, some installations require a permit. A professional contractor will determine whether one is needed and handle the process for you.
How are cable railings installed?
Posts are anchored first, then stainless steel cables are run horizontally between them and secured with specialized tensioning hardware. Each cable is tensioned to a precise specification so the system stays taut, rigid, and compliant.
Why hire a specialist instead of a general contractor?
Cable railing requires specific tensioning knowledge, hardware experience, and code familiarity. The work is precise enough that many general contractors hire dedicated cable railing installers rather than doing it themselves.
How long does a cable railing installation take?
It varies with the size and complexity of the project, whether components are custom-fabricated, and whether permitting is involved. Your contractor can give you a realistic timeline once the design and measurements are finalized.
What should I look for when hiring a cable railing contractor in Maryland?
Look for proper licensing (an MHIC number in Maryland) and insurance, genuine specialization in cable railings, in-house fabrication, a willingness to handle permits and code compliance, and examples of past work.